 Reassembly Page 1
Reassembly Page 1
This is a new page. It will has info concerning reassembly.
Go to Reassembly 2
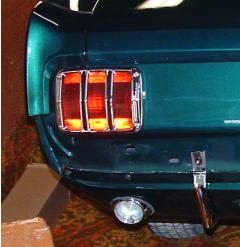
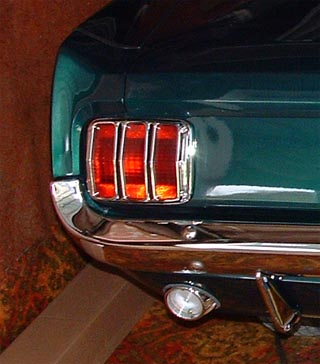
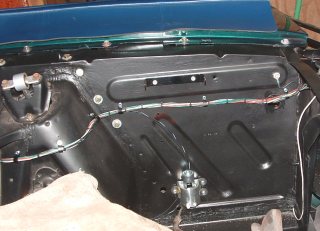
Later. The car is home and I have begun to put it back together. Yes that is carpet on the wall. I had it and decided it would prevent chipping the door when opened into the wall. I have installed the backup lights and taillights. I had some fun with the bumper guards. The replacement body parts did not have the holes for installation. I got that figured out and the guards are in place now for the bumper then wiring. I really must do the wiring early while nothing else is in the way. Bumper done.
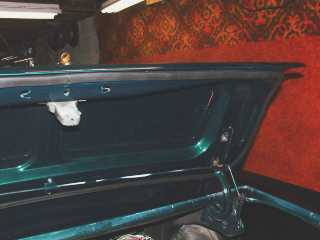
Trunk weatherstrip and lock is in place. Love that gas cap. (Notice that the photographer got caught in reflection twice actually at least 3 times, if you look at the full size image.)
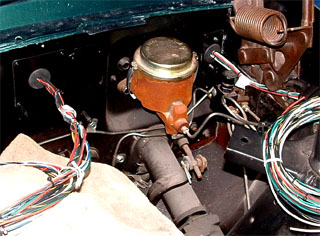
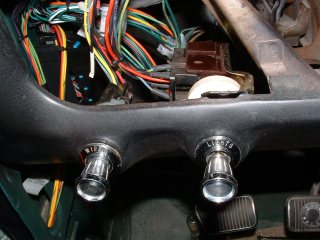
More later. Ok, I have started the wiring. I have a Painless wiring kit. I am pleasantly surprised at how complete the kit is. I bought it from Summit. They had the best price. I started by installing the fuse block mounting plate where the original block was. (I was so excited about wiring that I plugged the fuse block in upside down. It took a while to get it unlatched and turned back over.) If you have the wires near where they are supposed to be everything lines up very well. The kit comes with a different style of pass through. If you want original this isn't but it looks pretty good. I have everything laying in the right place but now the process slows down as I position, attach, and anchor the harness.
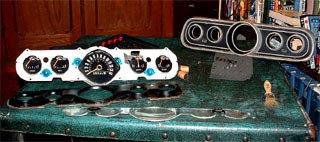
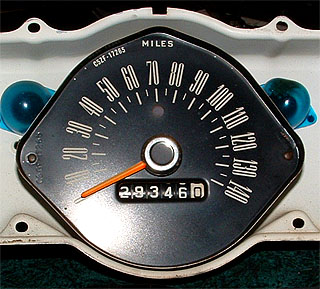
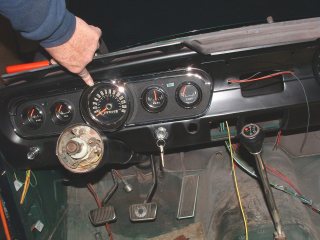
Since I need to have the instrument panel soon. I'm working on the instrument pod. The instruments seem fine but the dash panel is not good. I have a new one on order. I repainted the dials on the instruments. They were faded. I wonder how many miles are really on this car. I suspect that this Instrument pod is not original.
The wiring progresses. I have the taillight section and headlight section done. I still have a lot of work to do under the dash and all the engine and alternator wiring.
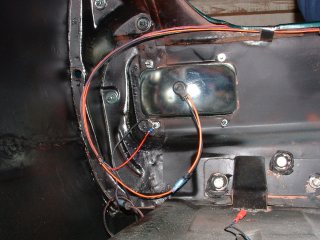
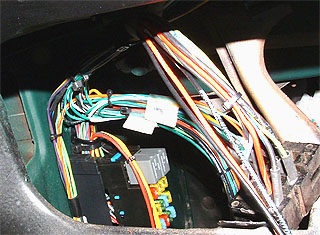
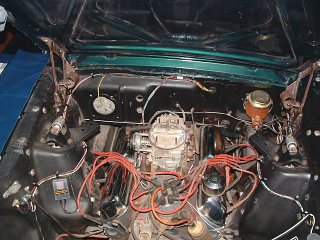
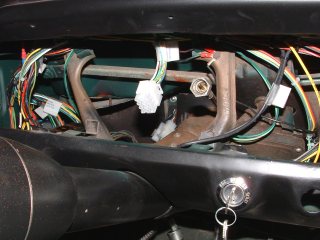
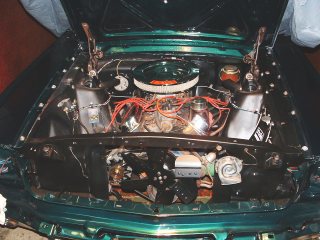
Wires in trunk space are now in clips. The Painless instructions do not say anything about wrapping the harness with tape and, in fact, recommend that you just bind it every 1½ inches with ties. I like the way this looks. Here are a couple more wiring pictures. In the first am almost done. I had the alternator checked at AutoZone. Unfortunately, it didn't work. I think everything under the hood is done except the heater motor, windshield washer pump, and alternator, which I now need to buy.
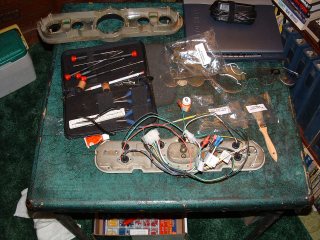
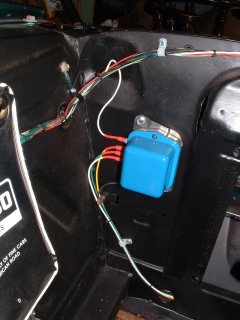
The second is the start of wiring the instrument pod. I have ordered a new bezel and until it comes I worry about damaging an instrument as there is no real protection
The Painless kit I am using is put together very well. When you get the main harness in the right place everything else lines up. Notice the brown and yellow wires for the heater blower motor. This turned into a real problem. The wires on my blower motor are red and orange! After about three days of research and thinking I believe that I have solved the problem. There are TWO possible switches for the 2-speed heater blower motor. I, of course, have the one not mentioned in the Painless manual. Click the link above if you want more detail about this.
By using a battery charger for power I have the taillight, brake light, dash lights, wiper, washer, and courtesy lights working. (: BTW if you are going to turn the key on you need to pull off the top wire on the voltage regulator. I also put a piece of clear stiff plastic between the points so I don't “smoke” the coil
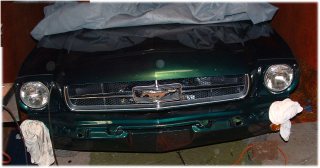

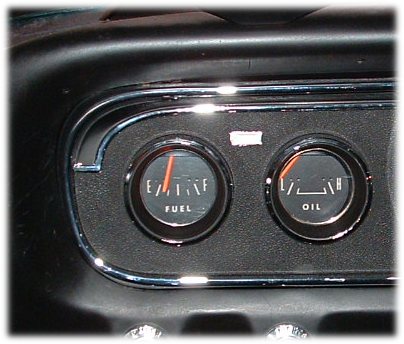
The grill and headlights are in. I had real fun getting the instruments to work. The voltage “regulator” was burned up. I decided to make a voltage regulator using a solid state chip (7805) from Radio Shack. Five volts is not quite enough so I had to find a way to boost the output. I found a website that showed how to make a 7805 a variable regulator. After a lot of experimenting I got it to work. Notice the fuel gauge is reading about ¼ tank. The sender is laying in the trunk and the gauge responds as it should. I also installed a light in the trunk that goes on and off with the trunk lid.
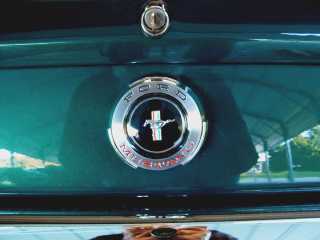
I have found a way to restore the color to the red and blue stripes on mustang emblems. I bought sun-catcher paint at the local craft store. For ~$3 I got a package of 5 paint tubes. The paint is “clear” and allows the chrome to shine through. Just flow the paint on to the surface and use a toothpick to poke color into small areas.
![]()
As can be seen, it works. The color should not fade because sun-catchers are made to hang in full sun. I don't know how well the paint will hold up otherwise.

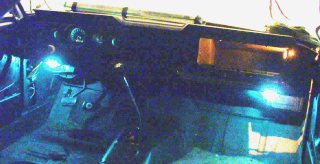
The glove box is in. Guess what? The box is supposed to go in BEFORE the heater box. Sigh! I discovered you can jam it through from the front without undue damage. There are fold lines built in on the sides of the new box so I don't think I was the first to discover this problem. The second picture is taken using only available light. At first the picture showed only 4 light spots. With multiple brightness and contrast stretches this is what showed up. The bright blue/white lights are the white neon courtesy lights. The yellow is the glove box light. The dash lights are also visible. I have the dash pad but the instructions strongly recommend that it be installed with temperatures above 70 degrees since the current temperature is 4 degrees and I have no significant heater I'll wait a while.
I'm working on getting the backup switch in place. I'm somewhat puzzled by how it is fastened in place on this Hurst shifter. I suspect I don't have all the pieces. It goes in the mounting hole but there is no way to keep it there.
I also have to clean-up the floor. The two years in a bodyshop left quite a deposit.
Go to Reassembly 2

Return to Mustang Page 2