Click here
for Next Page
Go
to Reassembly
Page
TriPower
Saga
Clutch and
Harmonic Balancer Story
Brake
Story
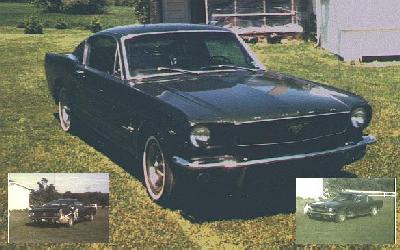
I bought this car when I got my first real job. I was 23. I
drove it 18,000 miles in 8 months. I loved this car. I had to sell it
when my wife and I moved to Hawaii so I could go to graduate school.
My wife also owned a 64 1/2 6 cylinder at the same time. We had to
sell them both. :( For those of you that might be interested 65's
best 1/4 mile time was 15.90 on the same tires as are in the picture.
CJ (my wife) was looking through some scrapbooks one day and found the
window sticker for this car! I wonder if the car still exists.
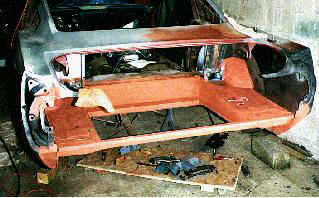
This was my first taste of restoration. I bought this car in 1973 for $150 and drove it home. The small pictures show it the day I brought it home. The big picture is the day I sold it.:( I spent the better part of a year, the magnificent sum of $667 and untold hours rebuilding it. It was a little rough outside but the interior was good. I had to sell it about five years later.
I acquired this 1965 Mustang Fastback in November 1996. With the help of my brother (Alan's Motors, Cedar Park, TX) who found the car in the first place, He got the car shipped to PA in April, 1997. It needs work but I enjoy doing this as long as I don't have to hurry. I. The body is OK but the interior is a little rough. :( I'm planning on willing this one to my son or daughter In other words, I do not plan on selling this one!
As you can see I have started on the restoration. As I disassembled the the car I discovered a New York state inspection-registration sticker rolled up in the carpet. So much for my "Texas" car. :( When I discovered this I decided that I needed to make a very careful search for rust. Unfortunately I didn't have to search too hard. At this point winter set in and I decided to wait until spring. I've continued to work on little things. I have rebuilt the heater. The car is a mystery as some parts are quite good and some just are not..
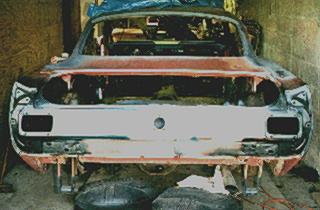
Well I guess Spring has sprung long ago! I have been working on the car all summer. Last Spring I noticed that there was about 3/8's of an inch of plastic filler on the tail light panel so I decided that I would remove it and replace it. As you can see I found more rust when I removed the panel. I cut out all the rusted parts and bought new from Virginia Classic Mustang and/or National Parts Depot. (both gave very good service.) I also removed the rear end to clean it up.
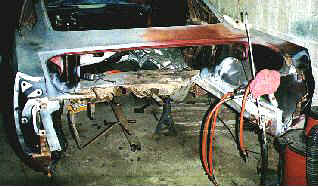

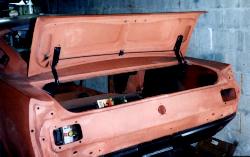
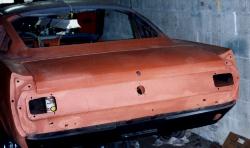
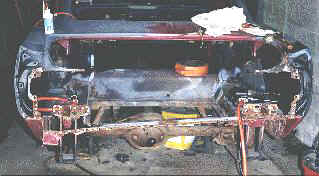
At this point I could pick up the back of the car with one hand. The next job was to braze in the new stuff. I wasn't a very experienced "welder" but I'm learning fast. As can be seen in the last picture I got everthing back in but in the process I discovered that the outside bottoms of the quarter panels were repaired with plastic. I tried to repair by piecing with metal but I wasn't satisfied soo... I bought new bottom and outer wheel house patches. These are now in place and I have brazed in metal patches for the rust holes under the rear seat area. I have also rebuilt the brakes as these were messed up. Also the springs were wrong so I got new leaf springs and new stainless brake lines. The emergency brake cables had been hacked off so new ones of these were ordered. I was going to get SS for these but $$ too much. I hope to get the underside cleaned up and painted so I can reinstall the rear end. Oh yes, the rearend is not original. It is a 2.79:1 and has the wrong build date to be original. Sigh! This ratio really doesn't bother me as I want a touring car not a drag racer when I'm done.
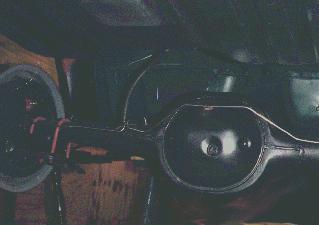
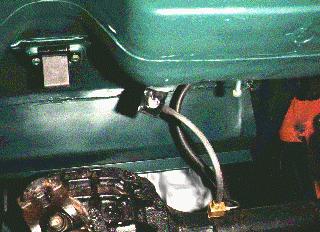
The backend underneath is nearly done. I have installed the
SS brake lines and the rearend breather. The various suspension
bumpers are in place and everything is painted. The new gas
tank is still just sitting in place but I hope to get it screwed in
place soon. I still need shocks.
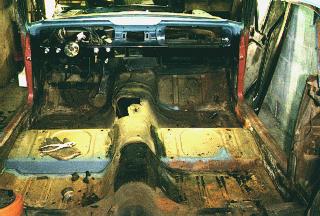
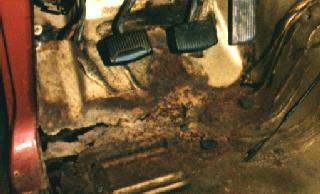
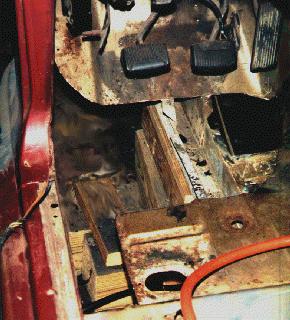
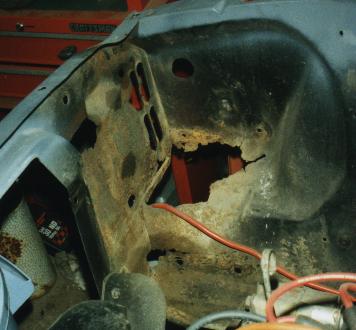
This is the mess I found when I
started to work on the driver's side floor. I'm still trying to
fit in the new stuff. It is just enough different than the
original that "things" don't line up. Oh well it makes a
good puzzle.
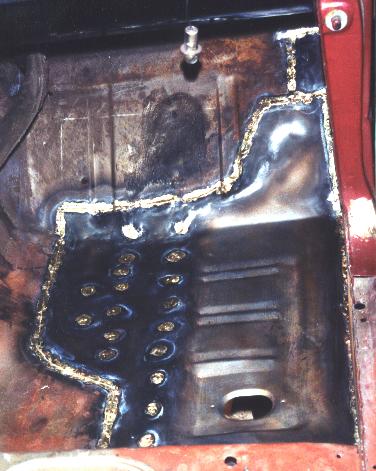
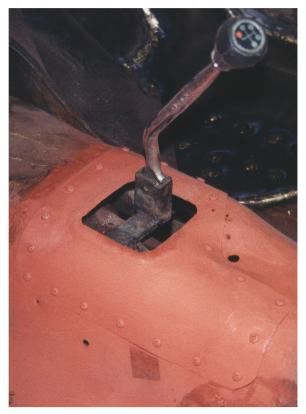
I thought you might like to see what it looks like after brazing
and before painting. I am fairly proud of my fix for the floor where
the previous owner had hacked the floor to put in the Hurst shifter.
I decided not to weld this patch so I could still remove the shifter
from above if necessary. All the screws are stainless steel.
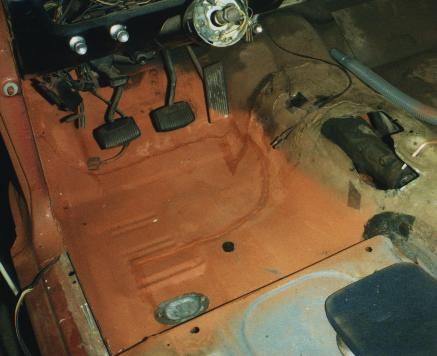
The picture below is the floor completed. 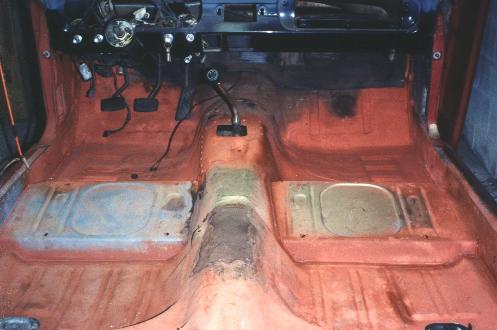
I got it fit. The other side is now done also. This means the floor is done. I still have to fix the dash because of the radio hack. The hole where the Hurst shifter goes is also fixed. The dash mess is fixed. I still need to do a lot of detail work.
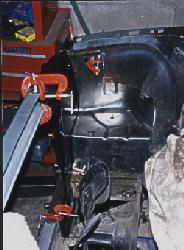
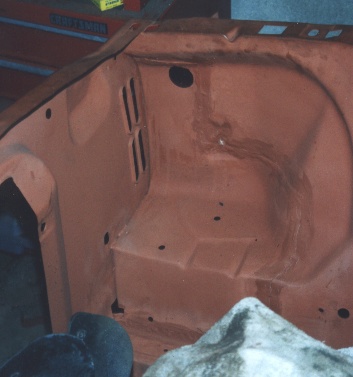
. This whole corner is a mess because of battery fumes. I really need to replace the whole thing. I have finished this but I found some more problems. They can be dealt with. I am now working on the front end suspension. There is some odd welding on the front end parts.
