 Reassembly Page 2
Reassembly Page 2
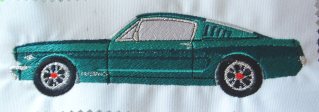
This is a new page. It has more info concerning reassembly. A friend, Peggy Ronan embroidered this design on my lab coat. I'm planning on wearing it to cruise-ins. It is really beautifully done.
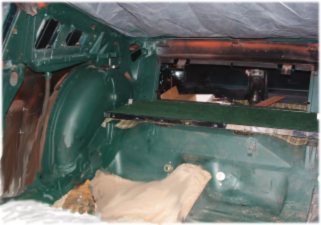
Well, I've been working and cleaning. Putting in these interior quarters has been an interesting experience. It seems that the assemblers at ford welded the lefthand bracket about 3/4” too close to the center. I wondered why the bracket was all bent up when I disassembled it. I straightened it up and guess what I had to bend it back so the panel would fit. :))
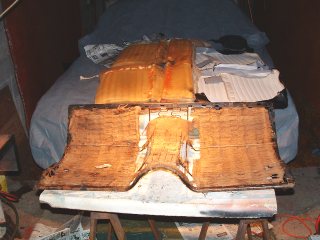
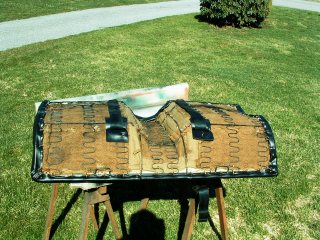
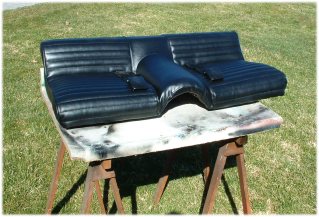
I decided that I wanted to put rear seat belts in this car. I discovered that The rear seat belts actually go through the seat upholstery. So I decided to recover the back seat. I had already done the front seats and thought the back was good enough. I'm glad I redid everything as no lists had been used to shape the seat covers. After an long day of struggle I got the seat done.
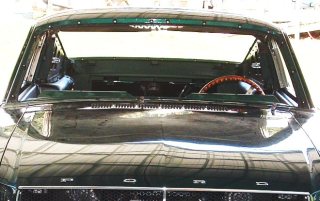
The front end is now complete. The hood trim is in place and the bumper guards are in place. Yes I know the “R” in FORD is missing . That's what happens when you try to remove a glare with a “new to me” program. I used the Gimp from Linux. Honest the “R” is there. In this picture the bumper appears to be uneven but it really is straight.

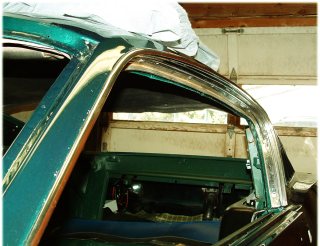
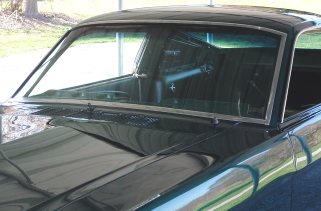
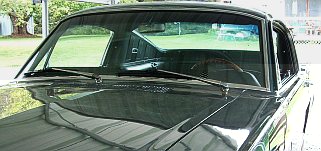
I guess I'm at the point of putting in the glass. I have the stainless in above the doors another “experience”. If you are missing the funny big headed flat head screws for this trim you can use waferhead screws. I found some at Lowe's in my area. The other pictures show windshield and rear window before and after.
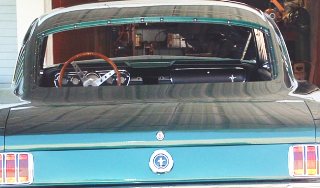
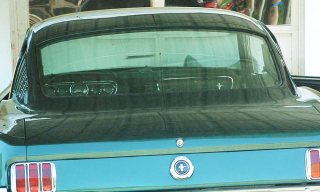
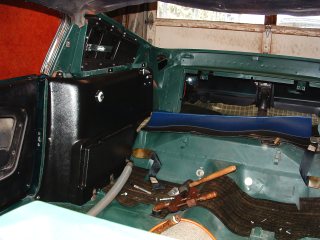
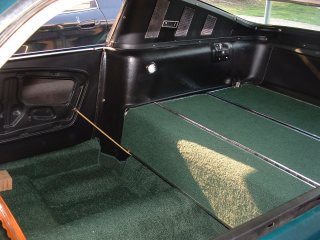
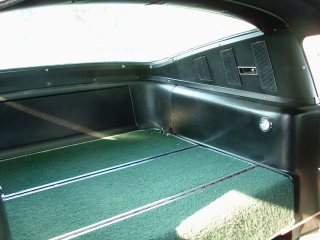
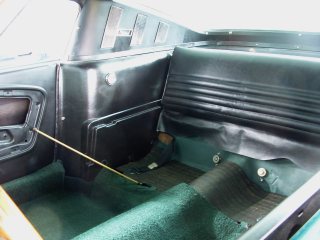
I now have the rear trim and movable part of rear seat in place. The trim was a challenge because it only fits in one order and I sure didn't remember what order after 8 years. But two days of sore elbows got it in. The rear carpet is just laying there. I hope to get it in place soon. It will sure be neat to have the front seats in place.
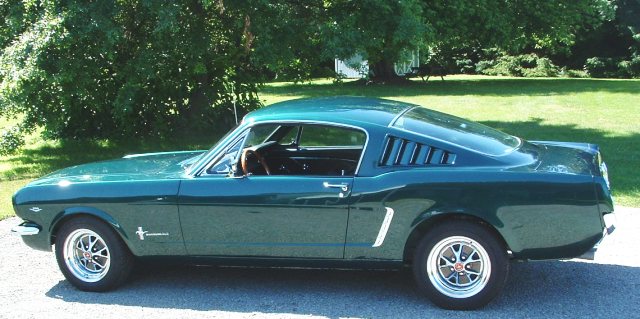
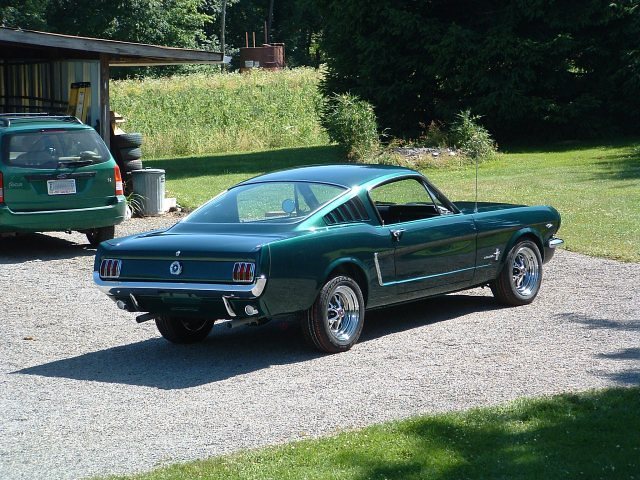
Well the interior is 99% done. I still need a radio but I think I'll spend the money elsewhere for now. Here are a couple of pics of the interior and exterior.
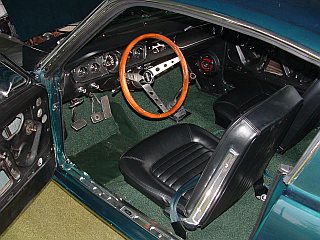
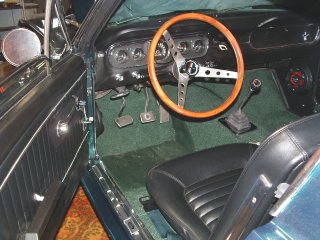
I actually have the door panels, etc. on now as the second picture shows. I now need to start planning the exhaust system . This may take a while but I'm beginning to think I might drive it this summer. :)))
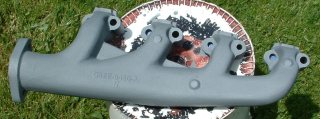
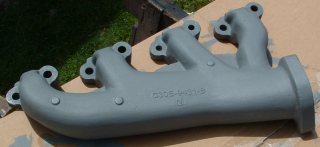
The exhaust manifolds have proved to be a problem. When I put the right hand Hi-po manifold on I discovered that it rested against the shock tower. After a little study I decided that the old motor mounts had shrunk over 40 years (left one may have been replaced) so I have new ones on order.
These manifolds are coated with a hi-temp stainless steel “paint” from Eastwood,
The manifolds are installed. As usual this turned into another hassle. The clearance on the right side was nil. I finally decided that what was really wrong was the right motor mount. So I bought both motor mount and the rear transmission mount from Autozone. I also had to buy the clutch equalizer bar for a hi-po as mine would be in the way. Installing the engine mounts was an interesting process (NOT). But I finally got everything installed.

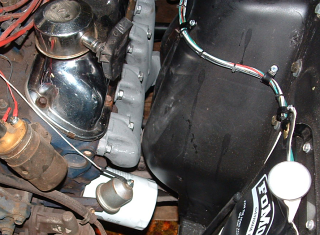
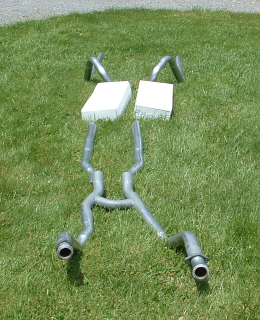
If you look real close in the first picture you can see the troublesome right hand motor mount. I always thought that the engine was off center but thought maybe it was supposed to be. It is all centered and square now. Next I need to work on the pipes and get the fuel tank connected.


My son, Ian was here for a couple of days. I took advantage of his abilities and we installed the exhaust system. It was a challenge. Especially the H-pipe. I don't like to think about doing this myself. BTW the very meager instructions did suggest coating joints with anti seize. This really did make it easier to slide or rotate the pipes for alignment but was messy at times. There are still some clearance problems.
We also installed an export brace. The challenge here was that it was too wide for the shock towers. After trying a few things we borrowed his father-in-law's frame spreader. We used it to push the towers apart until it would go on the bolts. We had to grind a little off the firewall edge of the brace and slot the holes some. One hole seemed to be slightly off to start with. When the spreader was released the towers returned about half way. The whole front end seems in better shape now. 40 years is a long time. This may also help explain the fitment problems with the exhaust manifolds.
I also have the fuel system all connected. I guess startup is fast approaching. :)
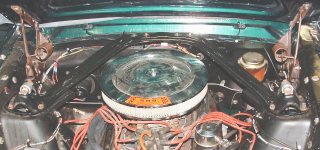
Start-up has happened!! After a little excitement caused by a stuck float we got it started. It doesn't idle very well, Maybe a cam? History of engine is unknown. Here are some pictures.
After getting the engine started I noticed “magic smoke” coming from the voltage regulator so off to Autozone for a new regulator. The new one is all solid state, nice. After running for a while the engine seemed quite hot but no water was circulating in the radiator. I decided that the thermostat was plugged or stuck after sitting for 8 years. When I got it out I discovered it was a 195 degree thermostat. Maybe the engine was not hot enough to open it. It sure seemed hot to me. New 160 degree thermostat works fine. Before I was done I needed a new fuel pump. The old one started leaking badly. I also had to replace the rear universal on the driveshaft.
Later...
10/19/2005
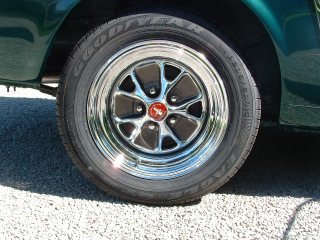
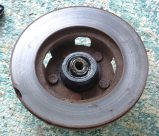
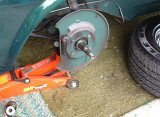
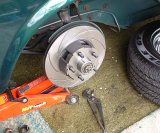
I decided that the original rotors were worn out and needed to be replaced. I bought a set of slotted rotors from Stainless Steel Brake Co. I was pleased to find that the outer races for the wheel bearings were installed in the hubs. Sure saved me some time. Below are some pictures of the process.


The brakes seemed okay before I changed the rotors but are much smoother now. I guess a stereo may be the next step or aluminum calipers or the tripower or the 5-speed. Who knows?
Winter is cold! Everything waits for spring now.

Return to Mustang Page 2